
Central Print Server GuideSetup Guide for Central Print Server
You are using SAP Customer Checkout and want to manage 80mm or A4 prints centrally?
Need a robust fallback mechanism in case a printer fails?
Want to track all print jobs and see exactly where each document was printed?
Need to review past printouts, anytime, even after they’ve been printed?
Then the Peak Print Server is exactly what you need.
✔️ Centralized print management for all your POS terminals
✔️ Automatic fallback if a printer goes offline – another one takes over instantly
✔️ Real-time monitoring – see which print job went where
✔️ Print history – all printouts are stored and accessible later
✔️ Offline support – print jobs are cached locally and forwarded once reconnected
✔️ Seamless integration – our plugin forwards all jobs directly to the server
Pro tip: Combine it with an Android device and our Peak Mobile for the ultimate setup.
Whether you're using LTE, Wi-Fi, or both – printing will never be a problem again.
Setup Central Print Server
Please download the Peak Print Server .war and the Print Server Plugin from here:
1. PostgreSQL
Download and execute the PostgreSQL installer:
https://www.enterprisedb.com/downloads/postgres-postgresql-downloads
Follow the installation.
Select „PostgreSQL Server“ , „pgAdmin4“ and „Command Line Tools“ and continue with the setup.
Remember the password for the postgres user.
For the port you can keep 5432 if it is available.
After the installation is finished search for ‚pgAdmin 4‘ and open it.
Alternatively, pgAdmin4.exe can be found under this path:
C:\Program Files\PostgreSQL\17\pgAdmin 4\runtime
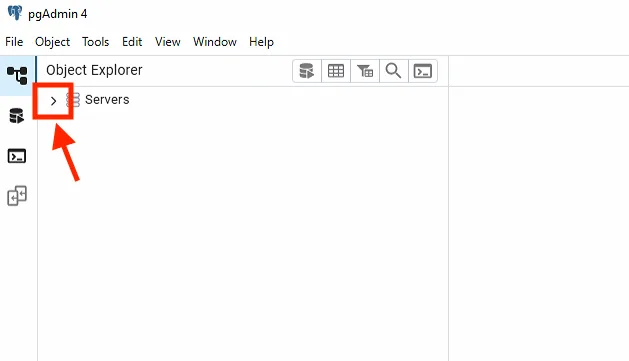
On the left side expand the server list and enter your password when promted.
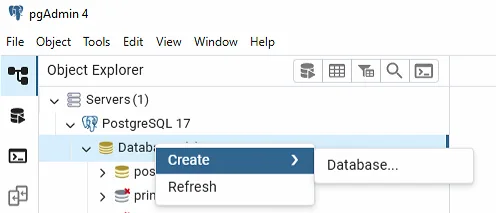
Right click on „Databases“, then select Create -> Database
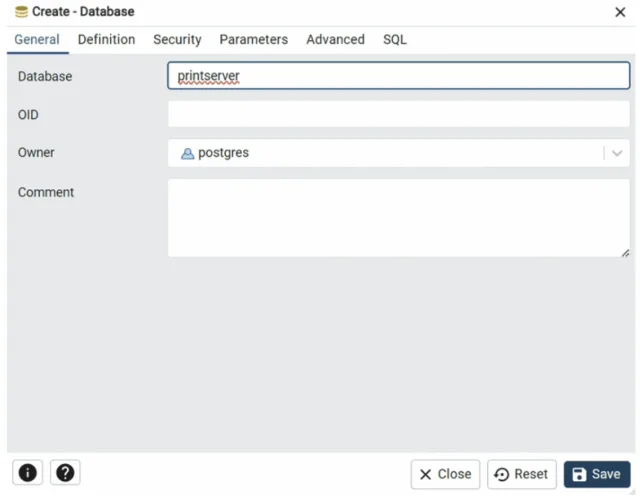
For the Database field enter „printserver“ and click „Save“.
2. Tomcat
Download and execute tomcat 10:
You can choose 32-bit/64-bit Windows Service installer. Download it and execute the installation file.
Follow the installation process.
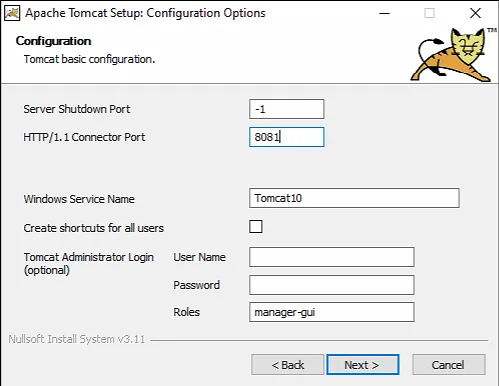
Enter a port number that is not in use yet. For this example the port will be 8081.
Continue with the installation.
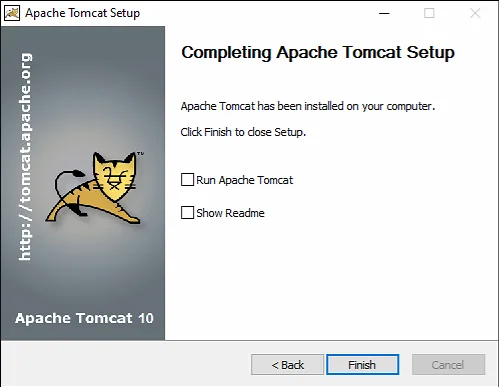
After the installation is finished, deselect „Run Apache Tomcat“ and „Show Readme“
2.1 Add application properties
- Open the new Tomcat directory, by default found under:
C:\Program Files\Apache Software Foundation\\conf - Create there a application.properties file.
- Add following data to your application.properties file:
##########################################################
# PRINT SERVER APP SETTINGS
app.api.username=
app.api.password=
app.home.path=
##########################################################
# PostgreSQL configuration.
spring.datasource.url=jdbc:postgresql://localhost:5432/printserver
spring.datasource.username=
spring.datasource.password=
##########################################################
# CCOm Auth:
ccom.baseUrl=http://:8080/ccos
ccom.serviceUser.username=
ccom.serviceUser.password=
##########################################################
2.2 Add .war file to webapps folder
- Open the webapps directory:
C:\Program Files\Apache Software Foundation\\webapps - Add the provided .war file and rename it to print.war
2.3 Configure path and start tomcat
- Go to C:\Program Files\Apache Software Foundation\\bin
- Execute Tomcat10w.exe.
- Go to the Java Tab.
Add the following line to the Java Options:
-Dspring.config.additional-location=file:${catalina.base}/conf/
Add the following line to the Java 9 Options:
–add-opens=java.base/java.util=ALL-UNNAMED
It should look like this:
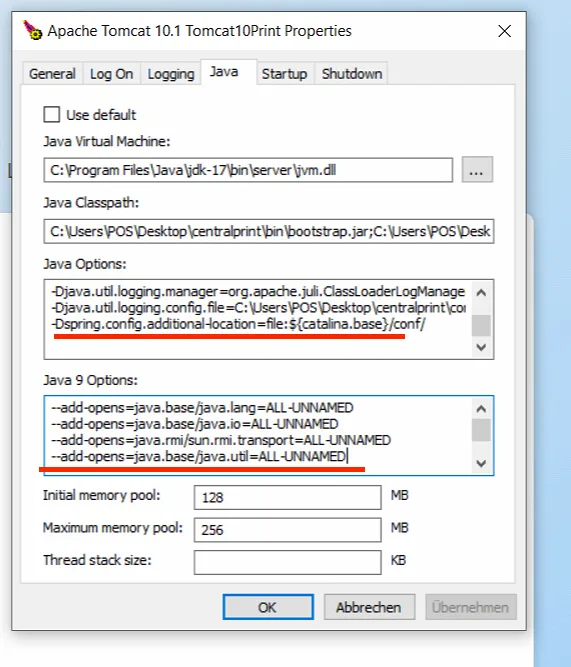
Go back to the „General“ Tab and click „Start“.
2.4 Test your server
In your browser open:
http://localhost:8081/print/ui/login
You should see the following page:
3. Print Configuration
Login with your SAP Customer Checkout Manager Credentials. Afterwards you will be forwarded to
localhost:8081/print/ui/printing-rules
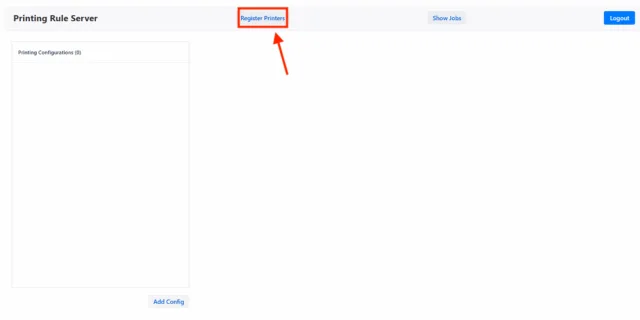
From there click „Register Printers“ to get a list of all available printers on your machine. Register them to make them available for the Printing Configurations.
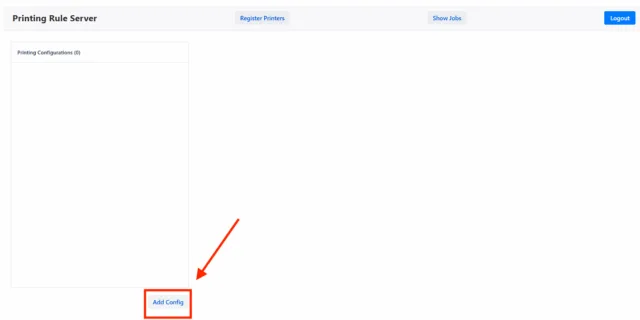
Afterwards you can close the window and click Add Config. Choose a name and click „Save“
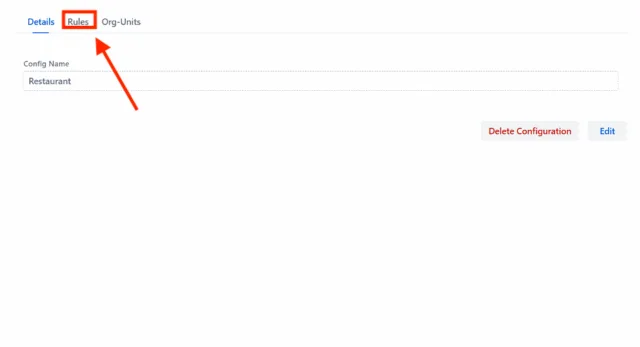
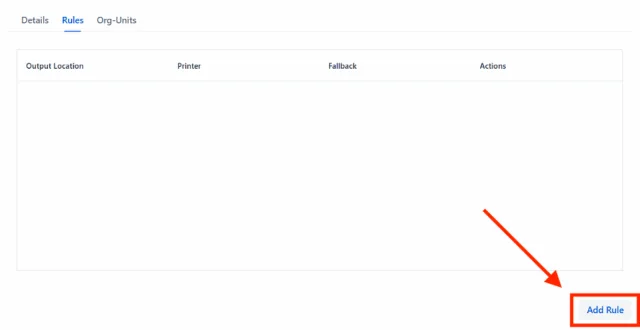
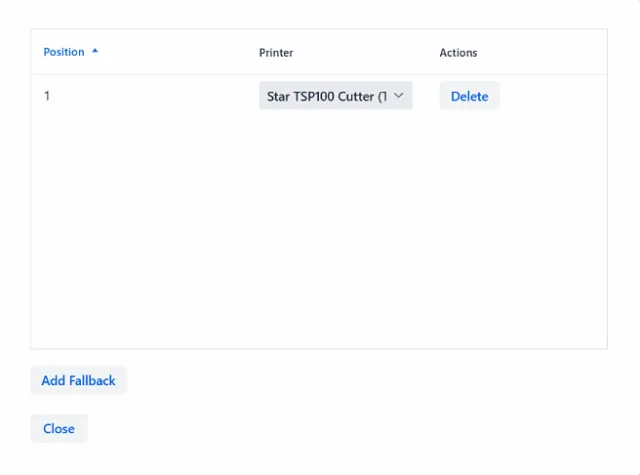
Go to „Rules“ tab and click „Add Rule“. Here you can choose an output location and one of the registered printers that should be used for incoming print requests with that output location. If you don’t intend to work with output locations, chose „“ to make sure printrequests without an outputlocation are being printed to the selected printer.
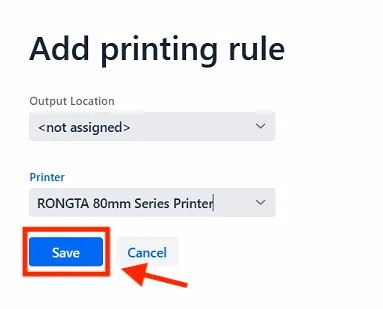
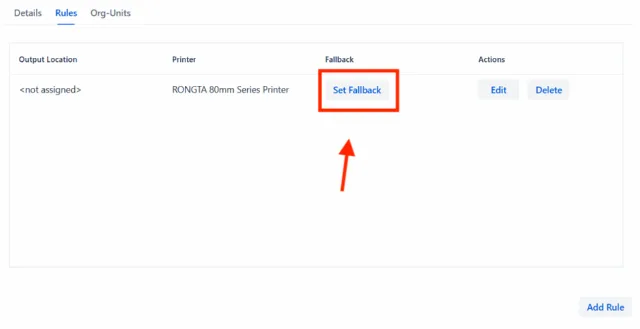
Click „Save“. Then click „Set Fallback“ to add additonal printers to that output location. If the print takes too long or fails, a new print attempt will be made on the next printer in the fallback list.
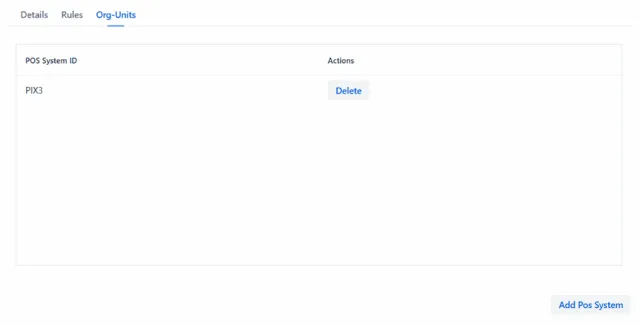
To assign the configuration, go to the „Org-Units“ Tab and click „Add Pos System“.
You will see all available Pos Systems from SAP Customer Checkout Manager. After selecting, click save and the configuration is now assigned to this POS System. Whenever this system sends out a print request, the server will check if there is a suitable configuration for it and print according to the configs printing rules.
Setup Guide for Print Server Client Plugin
In this guide you will learn how to setup the Print Server Client Plugin in order to send print requests to the Central Print Server.
1. Add Plugin to SAP Customer Checkout
Add the „print-server-plugin“ jar file to the AP Folder of your SAP Customer Checkout installation.
2. Plugin Configuration
Start SAP Customer Checkout.
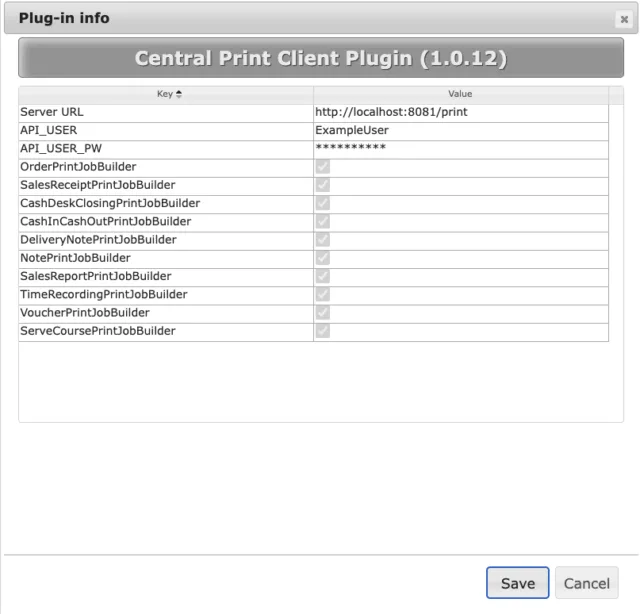
Navigate to Configurations -> Plug-ins. You will find „CentralPrintClientPlugin“. Open the settings.
Add the Server URL with „/print“ at the end. For our example the whole URL will be: http://localhost:8081/print
Add API_USER and API_USER_PW according to the Basic Auth credentials you have entered in the application.properties during the Tomcat Setup.
Afterwards select the PrintJobBuilders you want to use the Central Print Server with. In the end the config should look like this:
Need Help or more Information?
Our Team is always ready to support you with any question regarding Central Print Server. Please let us know and we will contact you for further support.
Reach out to: info@checkout-peak.com
Reach out to: info@checkout-peak.com
You want to see a Live Demo?
Book here
© 2026 Checkout-Peak
All rights reserved

 Deutsch